Using WordPress is relatively easy to learn specially if you are a technically inclined individual. Navigating through WordPress admin and understanding how it works is just like browsing and getting familiar with new apps on your new mobile phone.
In other words, you can intuitively create posts and pages with having to undergo days or even weeks of training. You just need spend some time to get familiarized with the interface.
However, many folks out there who may have just acquired a WordPress site or two are looking for a quick guide to edit an old post or even create a new one. While most of them have the capability to learn new things, they don’t have the luxury of time to sit down and really dig into the technicalities.
If you prefer watching video tutorials, check out links below:
So, here’s a step-by-step guide on how to add a new post or article in WordPress.
1. Navigate to the post creation page.
Do this by hovering your mouse over “Posts” then click “Add New“.

From the Dashboard area, there two ways to enter the post creation page:
The first one is through: Main Navigation Menu => Posts => Add New sub-menu (see screenshot above) and;
Second is through: Admin Bar => New => Post

You will be redirected to the “Add New Post” area.

2. Enter your post title.

3. Write your content.
Place and click your mouse over the blank field with the label “Start writing or type / to choose a block“ then start writing.

You can copy and paste an article you may have written on MS Word.
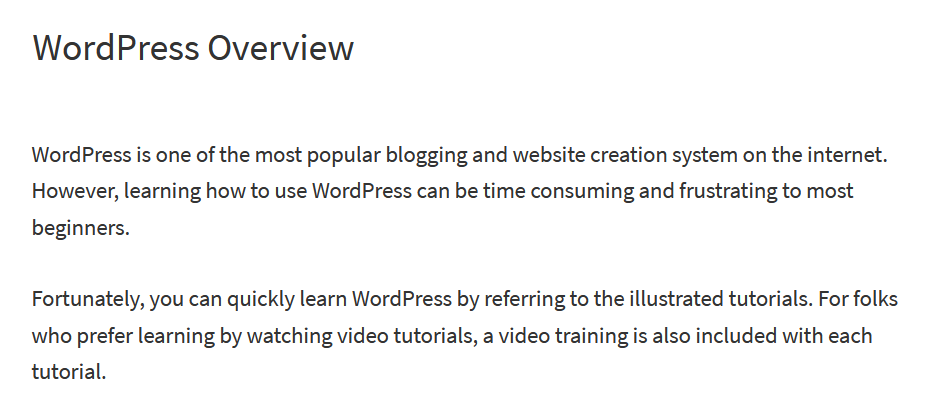
To add another sentence or paragraph, just hit Enter key on your keyboard.
4. Format your post.
You can bold and italicize any word that you want to emphasize. You can make bulleted items.
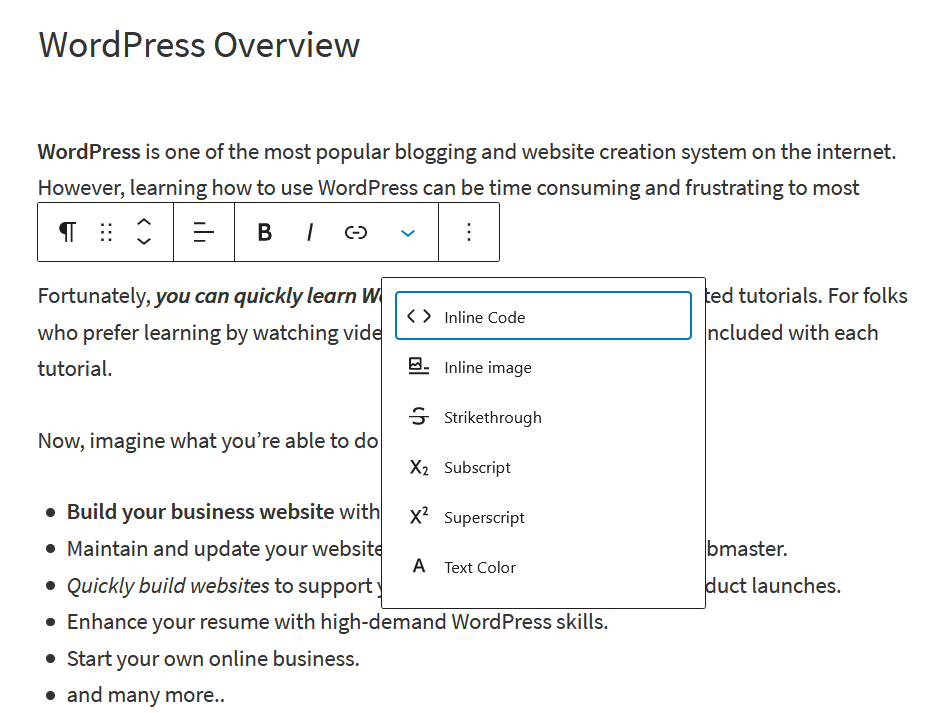
If you are familiar with rich text editors such as Microsoft Word, then you can instinctively format your articles using WordPress Visual editor.
Tip: It could be simpler for you to write and format your article using MS Word then just copy and paste it here.
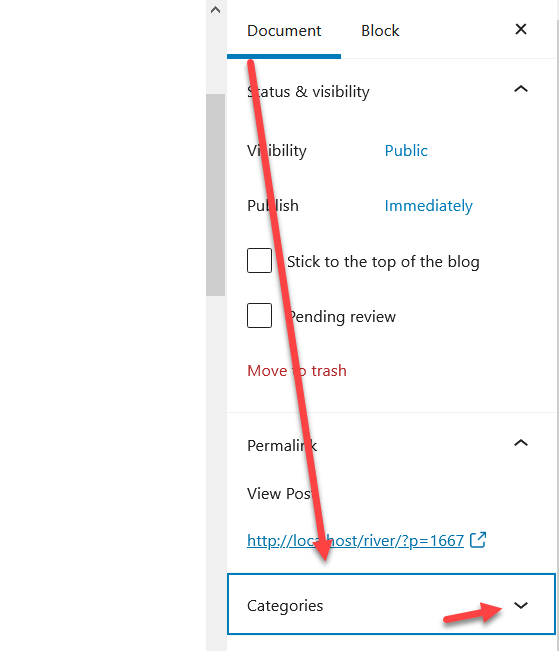
5. Choose or create a category for your post.
Click the dropdown indicator to open up category list (see screenshot above).
If you already have a pre-existing category, simply check the appropriate category.
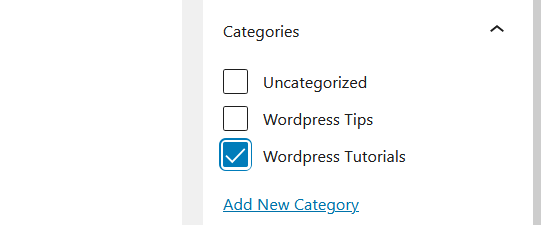
If you want to create a new category, click “Add New Category” link (blue underlined text, see above screenshot).
Enter appropriate category name for your post then click “Add New Category” button.

For example if your topic is about “How to Post a Post in WordPress” then your category should be “WordPress Tutorials” or “WordPress Lessons“.
Related Topic: Why categories are important? Read it here (opens in new window).
6. Create tags for your post.
Tags may not be necessary but if you want to add a tag or two then click the dropdown indicator to open Tags field.

Simply type your tags separated with commas or hit enter key for after each tag you enter.
7. Add image to your post.
You may add an image/picture or two to spice up your post. How to add image? Read this post on how to add image.
8. Publish your post.
You can now publish your article and make it viewable to the internet. The publish button is located at the top right corner of your screen.
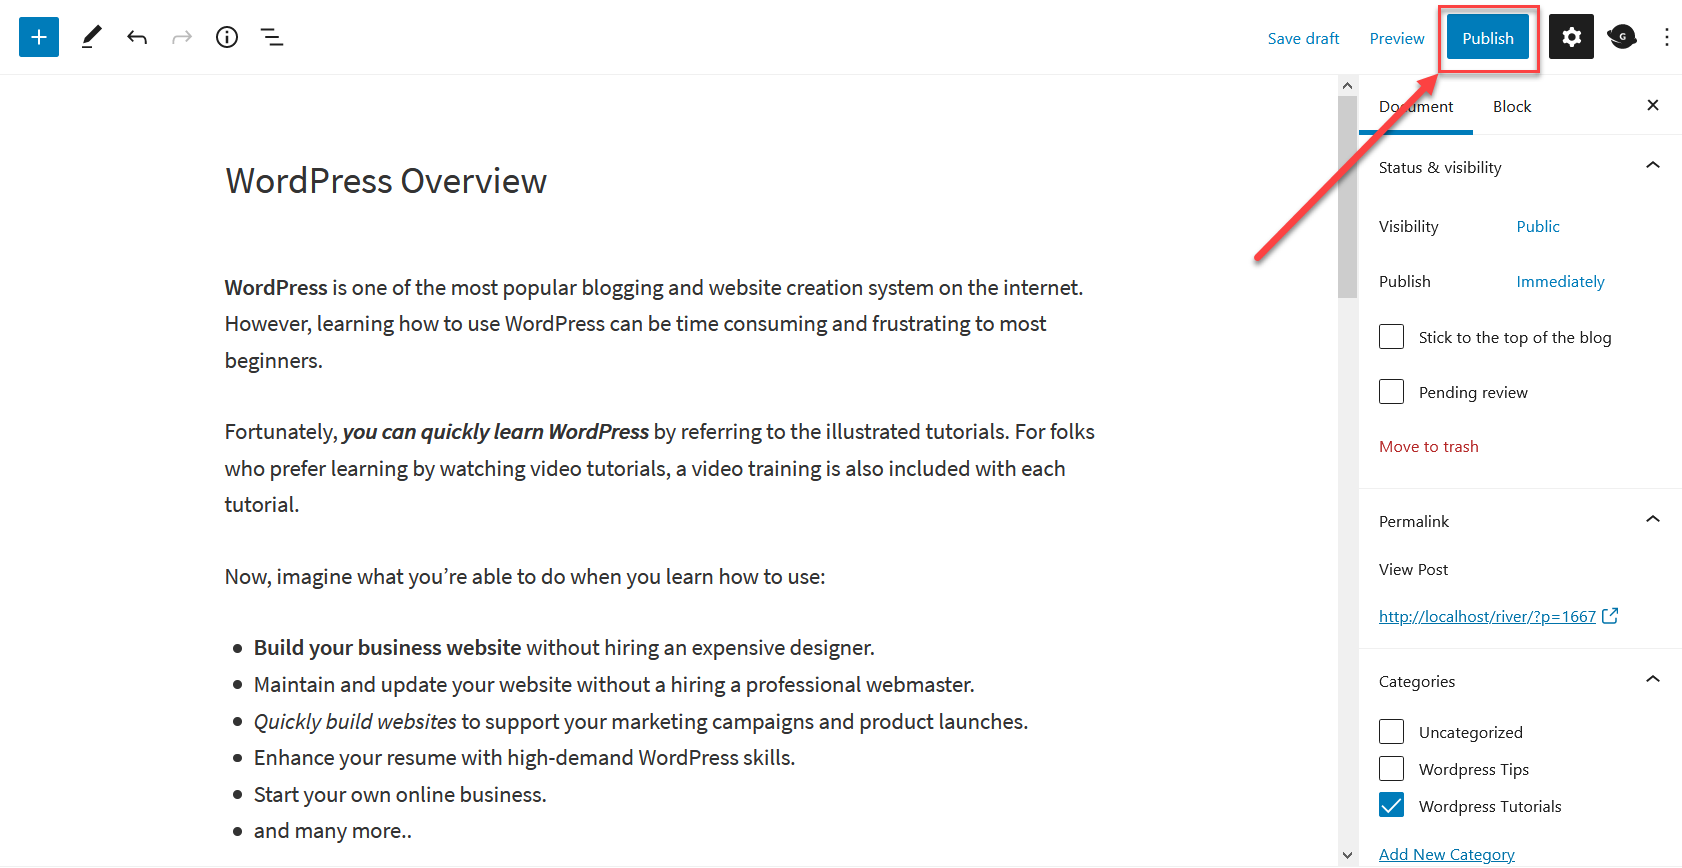
NOTE: If you’re editing an existing or old page, the button is labeled as “Update” instead of “Publish“.

You may also want to preview your post before making it viewable to the internet. Simply click the Preview button to do so.
9. Finally, check your new live post by clicking the “View Page” button.

Just after clicking the publish button, a notification bar will popup at the bottom of your screen informing you that your new post is now successfully published.
