In this tutorial let’s learn how to add a new page on your WordPress site. If you’re still wondering how “pages” differ from “posts”, read this post: Difference Between Posts and Pages.
1. On your WordPress dashboard, hover your mouse over “Pages” menu (located left side) then click the “Add New” sub-menu.

You’ll be redirected to a new page with blank content.
2. Enter your title.
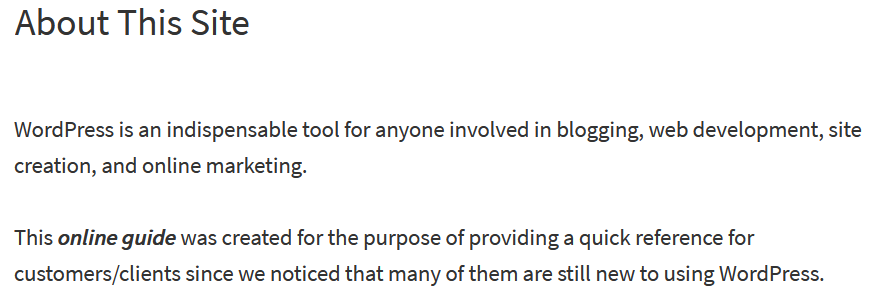
For this tutorial, we’ll create a page that serves to inform visitors about our site. We’ll name it “About This Site“.

4. Writing your content.
To write your first sentence, just place and click your mouse over the blank field with the label “Start writing or type / to choose a block“.

So, here’s how it looks like:

5. To add another sentence or paragraph, just hit Enter key on your keyboard.

6. Add an Image (picture), if needed.
Add an image or two (or more if you want) to make your content more interesting.
Here’s a quick guide on this: How to Add an Image to Your Post or Page
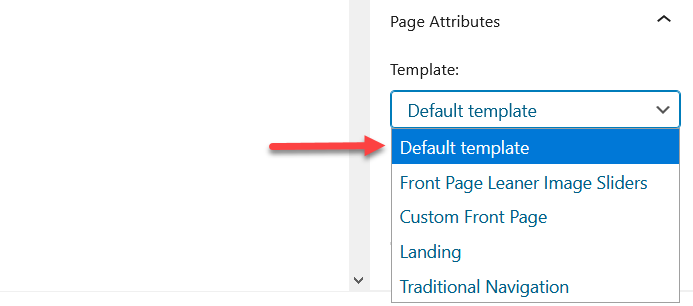
7. If you’re done with your content, you may choose a page template.
This is optional for most WP Beginners, so for now let’s go with the Default template.

You may preview your new page by clicking the Preview button located on top right corner of your screen.

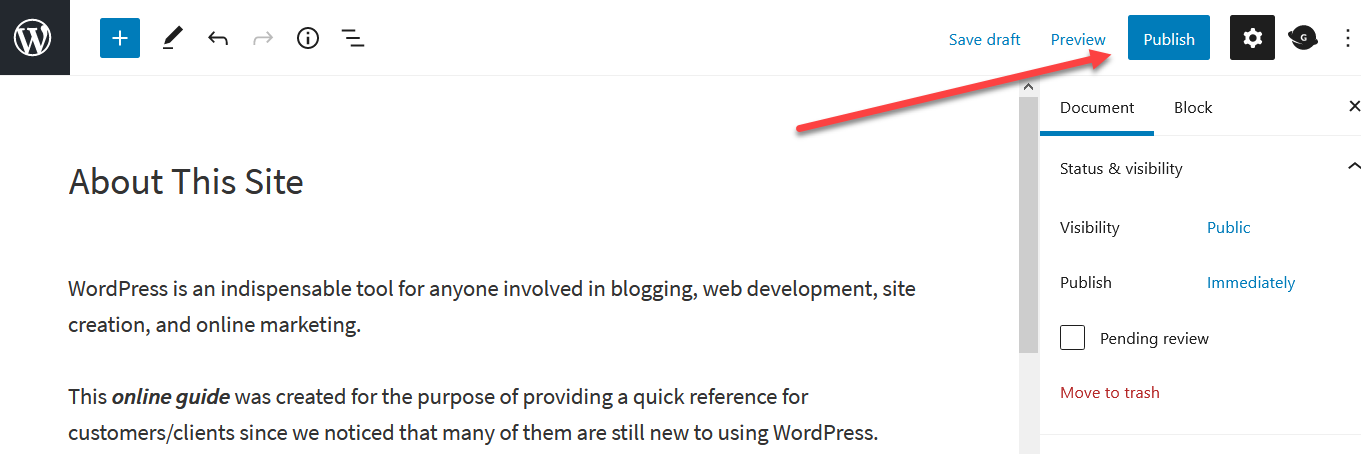
8. Click “Publish” button.
The publish button is located at the top right corner of your screen.

NOTE: If you’re editing an existing or old page, the button is labeled as “Update” instead of “Publish“.

9. Finally, click the “View Page” button to see the live page.
After clicking the publish button, a notification bar will popup at the bottom of your screen informing you that your new page is now successfully published.

You may have to do some editing if necessary.
