One of the basic things to learn when building a site on your own is to manage your web portal. If you are totally new to the techy parts of owning a website, this may seem scary as you don’t want to do things that might cause problems to your site.
One of the widely used webhost management portal is cPanel. cPanel is relatively easy to manage and there’s no need to stress yourself about it.
Among the most common questions (and excuses) I encounter with past clients/customers is: “How Do I Login to cPanel? Sorry I’m not that techy. “
The common way to login to your cPanel is through URL. Just append slash + cpanel (/cpanel) at the end of your domain name and hit enter on your keyboard.
Here’s a step-by-step guide:
1. On your browser’s address bar, type the url format: http://yourdomain/cpanel

NOTE: Some webhost require the url format: http://cpanel.yourdomain.com. If the usual yourdomain.com/cpanel format don’t work, please ask your webhost provider.
In some cases when you purchase a new webhost, the webhost company will provide you a temporary cPanel login url which looks like this: http://servername.hostcompany.com/
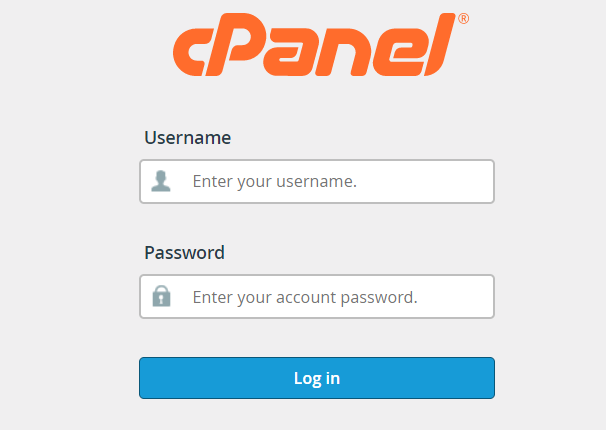
2. Hit Enter key on your keyboard. The cpanel login box will appear.

3. Enter your cPanel username and password then click the “Login” button.
That’s it. You should be redirected to the cPanel Dashboard.
Just in case you are wondering where to get your cPanel username and password, please check the first email sent to you by the webhost provider when you first created your account. Or contact the support or whoever provided the service to you.
