After buying your own domain name and getting your own webhost, you need to point your domain to your webhost. You MUST do this to make your domain and webhost function together.
This task is very easy as it only requires the following steps:
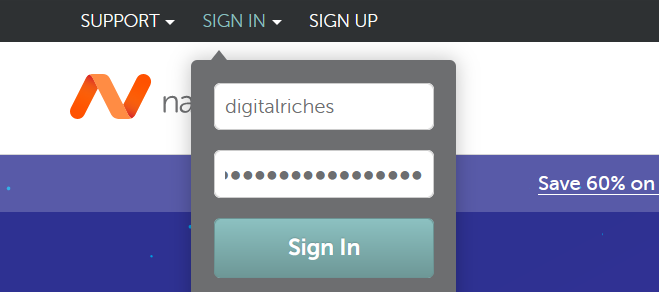
1. Login to your Namecheap account.

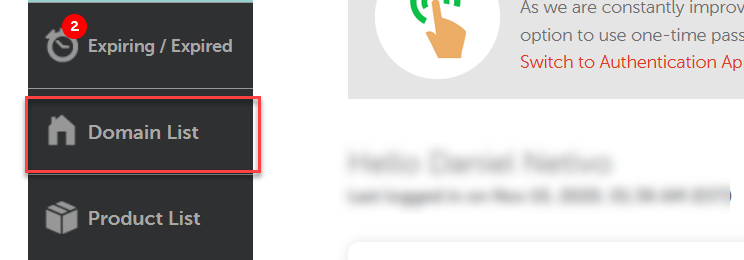
2. Click on Domain List.

3. Click on “Manage” button (beside the domain you want to set up DNS).

4. Within the “NAMESERVERS” row, choose Custom DNS.

5. Enter at least two nameservers.

Nameservers are usually provided via email by your webhost when they first setup your new account with them.
6. Click the “check” icon to save your newly added nameserver.

That’s it. You’re done.
Depending on your webhost, you may have to wait up to 24 hours for the changes to take effect.
How to Get Your Nameservers
Most webhost companies usually send you a welcome email which contains the nameservers and other important details of your new account.
See sample email below:

Image above shows important details including nameservers usually sent by webhost companies when you first sigh up with them.
Note: If you obtained your domain name together with Hostgator’s webhosting plans, you don’t need to do the job of setting up your nameservers as it will be automatically set for you.
