If you’re planning to set up your own website for your personal blog, business site, or company website, you need to register a domain name.
A domain name is the name/url of your website.
Examples of domain names are baguiowebs.com, computernook.net, wordpress.org, ballgolf.info, onliner.biz etc.
Take note that domain names have different extensions such as .com, .net, .info, .org, .biz, and other special extensions like .trade. There a lot more domain extensions but these are the most popular ones.
When registering a domain name for your own business it is best to go for a .com domain. That’s because it’s the first extension that comes to peoples mind and it’s also easy to remember.

However, if you are on a tight budget you may go for a cheaper domain extension like .info domain.
For this tutorial, we will a register a new domain name using Namecheap. Namecheap is a popular and trusted domain registrar which I use personally.
For online beginners, here’s the step-by-step guide:
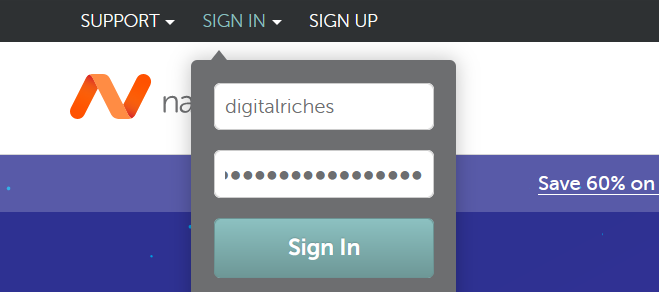
1. Go to Namecheap website and create an account.
2. If you have an existing account with Namecheap, login to your dashboard.

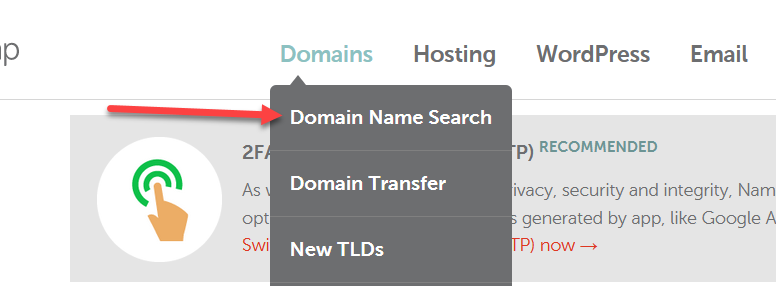
3. On the top menu, hover your mouse over “DOMAINS” then click on “Domain Name Search”.

4. Enter desired domain name then click “Search” button.

For this tutorial we’ll try to register bitcointips.com.

Oops! bitcointips.com is not available.
5. Let’s try searching for an available domain.
I want to build a niche site about bitcoin trading tips so I prefer a domain name which is closely related to my topic of interest.
I’m thinking bitcointips.trade would be cool.
6. I finally found an available domain.

In this tutorial, I’m registering a domain with a “special” extension but that’s because I’m going to use it for a different purpose.
If you intend to use a domain for your online business or a company website, I suggest that you better stick with .com extensions.
7. Click ADD TO CART button and click Checkout button respectively.

The checkout button should popup on the right bottom of your screen right after clicking the Add to Cart button.
8. On the shopping cart page, enter a Promo/Coupon code if you have one.

9. Click “Confirm Order” (see screenshot above).
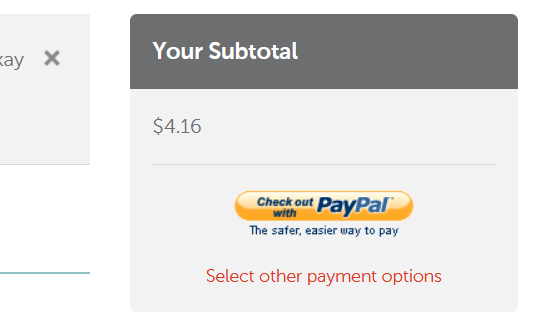
10. Now, click “Check out with PayPal” button.

You should be able to complete your domain registration from here onwards.
Other Payment Options
If you don’t want to pay via PayPal (or you don’t have an account with them), click the “Select other payment options” link (see screenshot above).
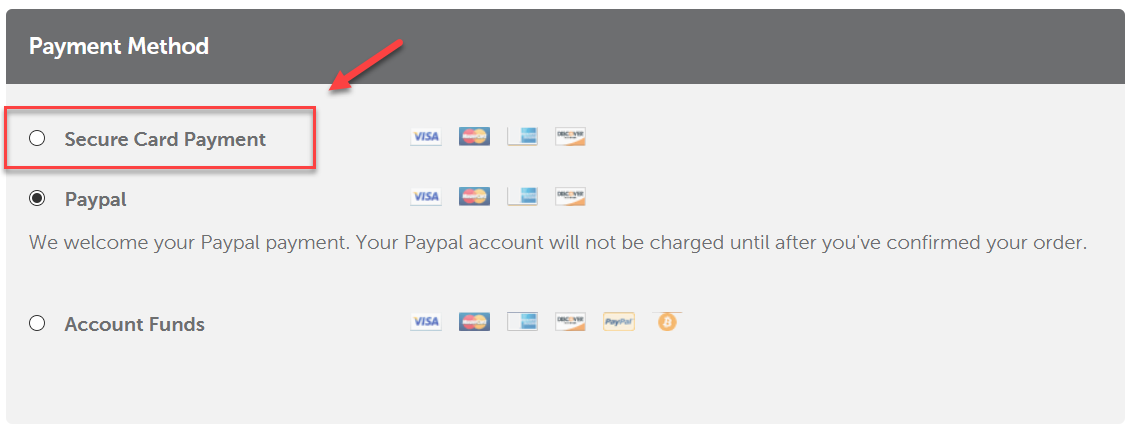
Now, check the “Secure Card Payment” if you want to pay via Credit/Debit card.

