In addition to domain name which you need in setting up your own website, you also need to have your own webhosting account.
The webhost is where you are going to upload the program files so that your website can be made viewable to the internet. This is where you will be installing your own self-hosted WordPress.

There are hundreds of webhost providers on the internet. They offer shared hosting, VPS, and dedicated host.
If you are starting, it is budget-wise to start with shared hosting then move to VPS or dedicated host when your business is finally generating revenue.
Here are a few shared hosting that I personally recommend since I’m actually using them or have used them in the past:
- Knowhhost – this is where this site is currently hosted.
- Siteground – I’ve use this webhost for hosting demo projects in the past.
- Inmotion
- Hostgator
For this post, I will use Knownhost as an example.
How to Purchase a Webhosting Account at Knownhost
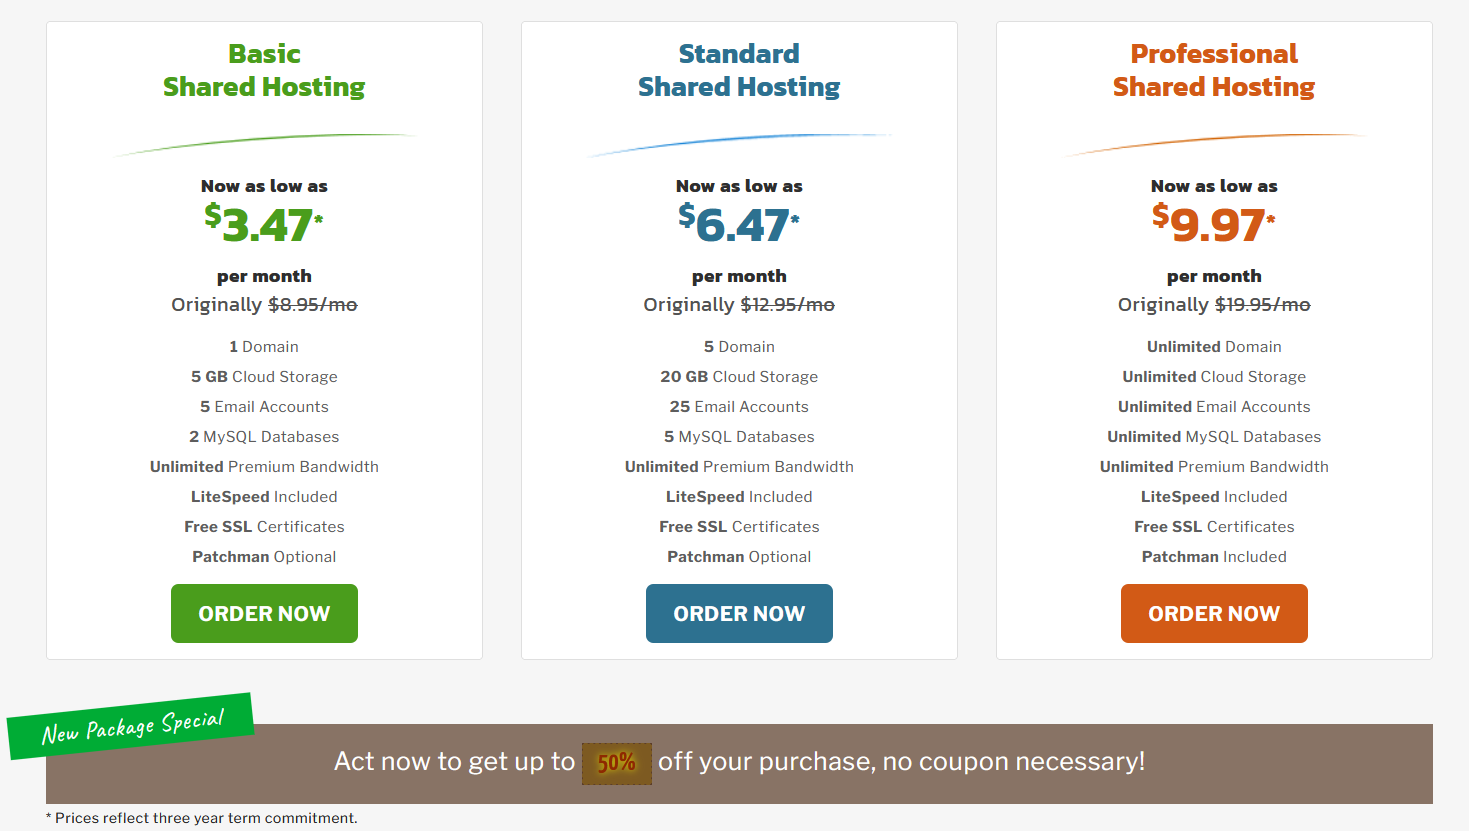
1. Go to Knownhost’s Shared Webhosting page to shop for a shared hosting package.
2. Choose a package that suits your budget.

NOTE: Indicated prizes are for yearly term. If you opt to pay monthly term, prizes are a little bit higher.
If you’re planning to build more than one website, it is highly recommended that you choose the Standard Shared Hosting as it allows you to host up to five domains. The Basic Shared Hosting, though very cheap, only allows you to host one domain.
In this tutorial, I choose the Standard Shared Hosting.
3. Click ORDER NOW button.
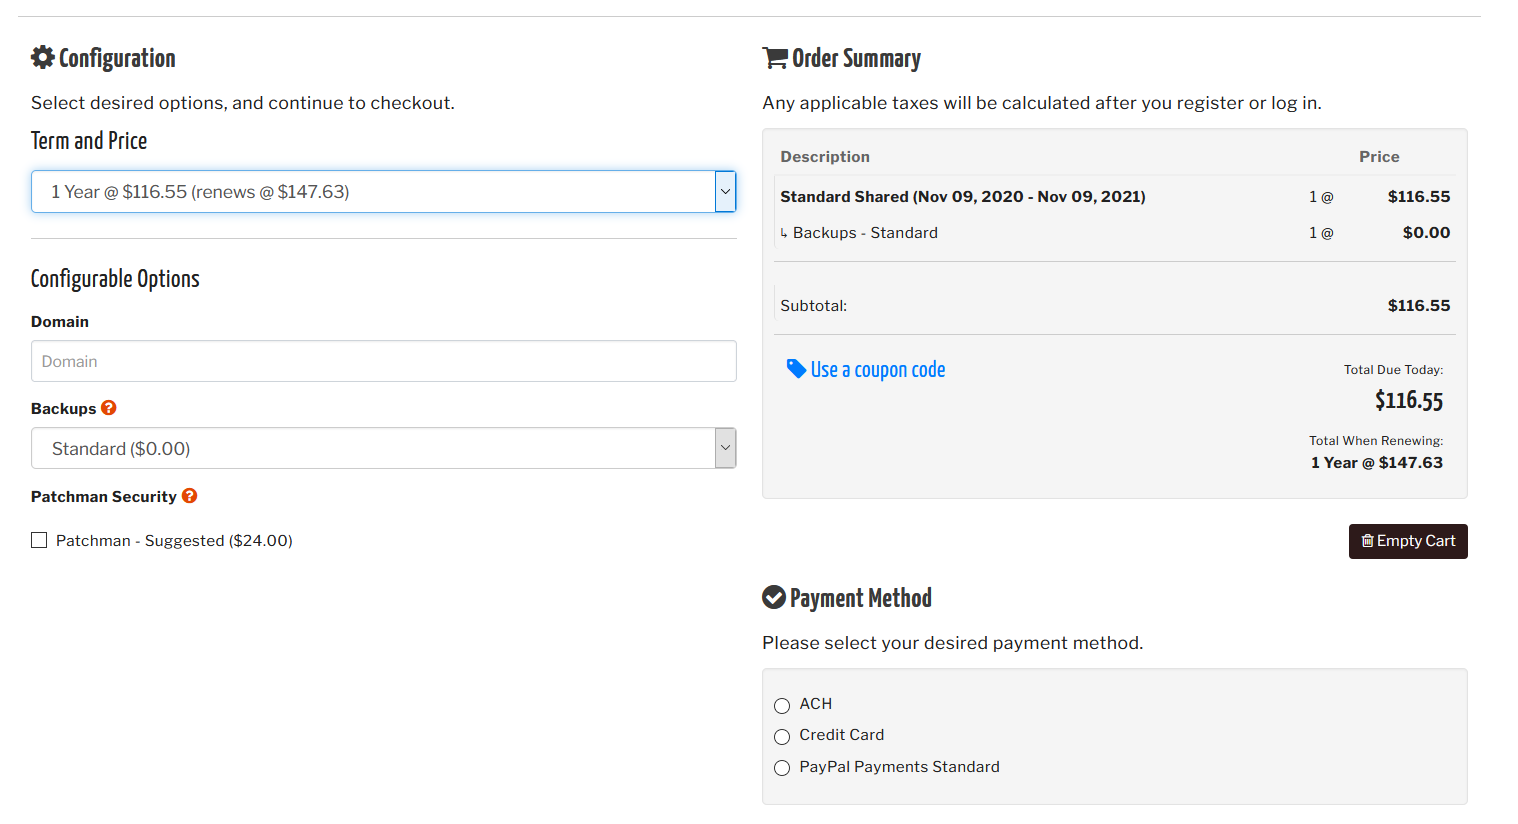
You should be seeing Knowhost’s order summary page like this:

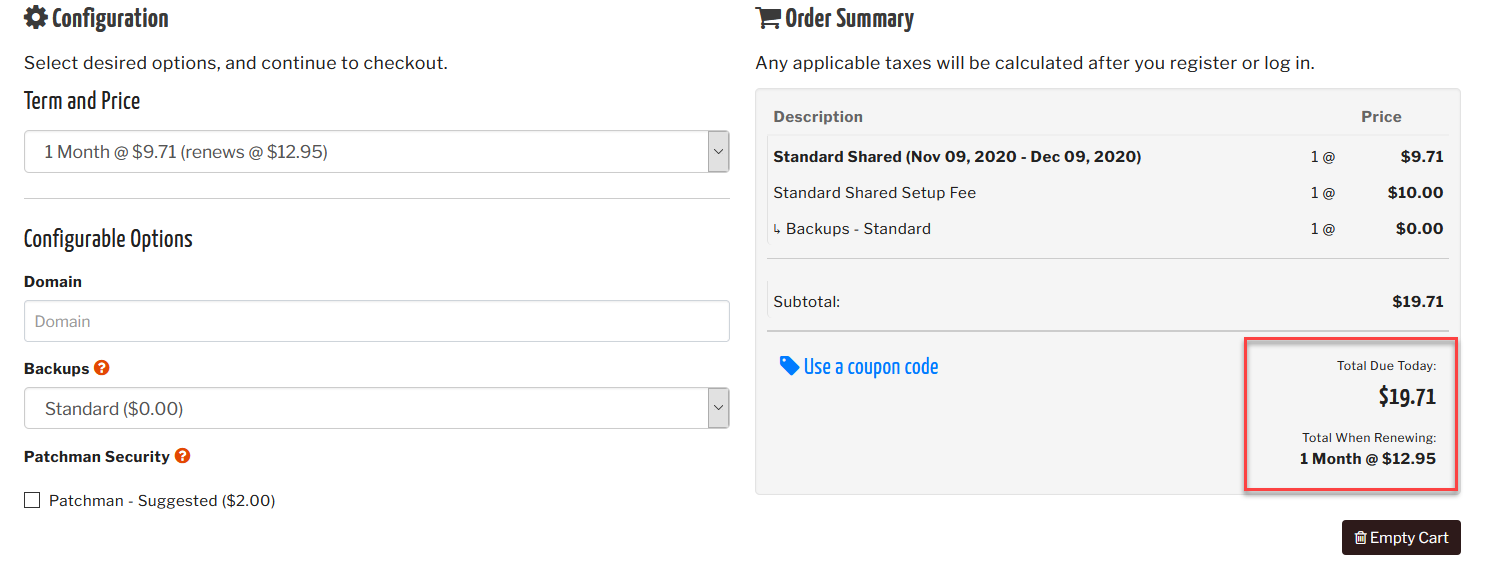
If you are still starting and can’t afford the yearly total due, click the field under “Term and Price” and choose the monthly term.

4. Enter a domain name.
Since we’ve already registered our domain in this tutorial, simply enter your domain under the Domain field.

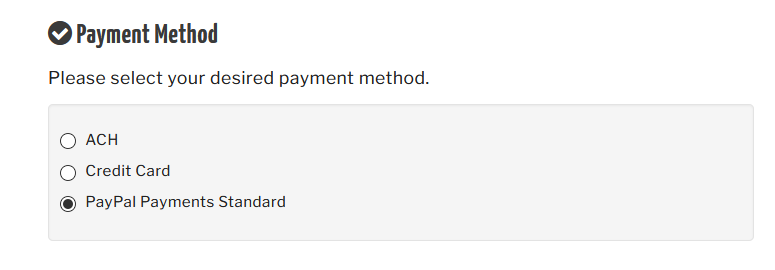
5. Choose your Payment method.

6. Finalize your order.
Fill-in billing information and other payment details then click “Create account” button to finish your order.
