In this post, learn how to change the look and feel of your website by choosing appropriate WordPress themes.
The “Manage Themes” panel allows you to simply activate pre-installed themes or add one from the WordPress Themes Directory.

1. To go to the Manage Themes panel, hover your mouse over “Appearance” on the Main Menu and click on “Themes”.

2. Choose from Available Themes (if there are any).
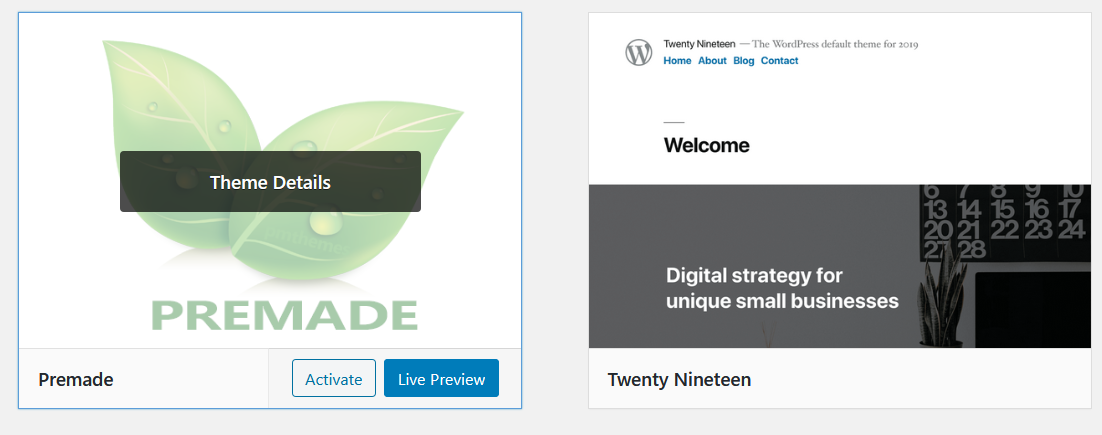
To activate a theme and apply it as your site’s design, hover your mouse over a particular theme then click “Activate” button.

You can preview the theme by simply clicking the “Live Preview” button.
To read more information about the theme, just click the “Theme Details” button.
3. Note that for newly installed WordPress blogs there are only two pre-installed themes.
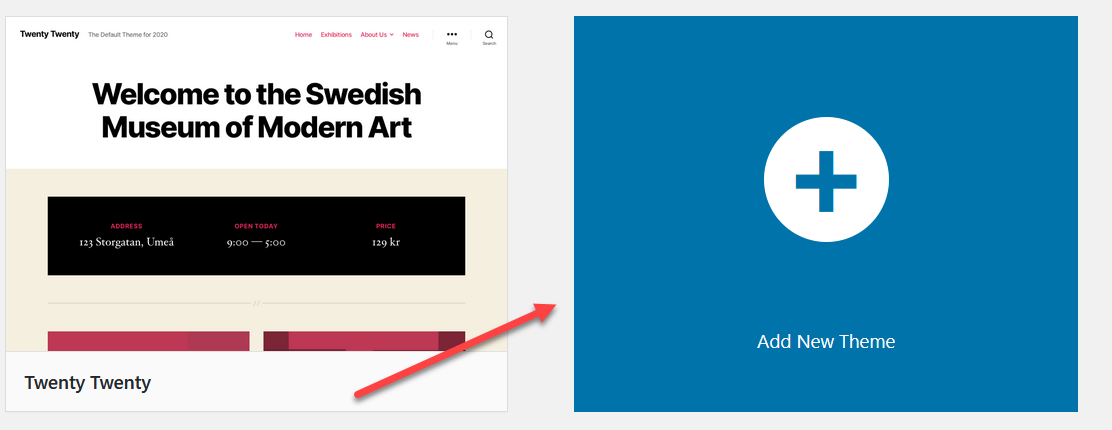
You can new add themes by clicking the “Add New” button.

You can also click the “Add New Themes” thumbnail.

Both links will lead you to the “Add Themes” page.

4. For beginners, the quickest way to choose a theme for your site is by browsing through the Featured, Popular, Latest, and Favorites tabs.

When you have chosen one that you like, hover your mouse over that theme then click “Install” button to add it to your theme library.

You can use the “Search themes” field if you know the particular name of the theme. You can use the “Upload Theme” button if you saved a theme on your computer.
5. After activating your chosen theme you can view your site’s new appearance by simply clicking the “Visit Site” link.

If for some reason you lose the visit sit link that is displayed just after activating a theme, simply hover your mouse your site’s title (located at the topmost left of the admin panel) then click the “Visit Site” sub-menu.
